Monday, November 22, 2010

Radiator painting

You would be right to assume that I have somewhat neglected the 'B' this year. Unfortunately, my XJS has been keeping me (and my wallet) rather busy. And as I have to drive it to work every day, I have to keep it running. The XJS was at a tipping point when I got it, but I'm pleased to announce that I think I've pushed it away from the brink of inoperability. A strong engine and accomodating transmission allowed me replace pretty much every service part: hoses, electrical components, all 6 (!!) shocks (of which 4 McPhearson...), ball joints, fluids, brakes, lenses, etc etc etc. It's been a real pain in the ass.

Things are finally clearing up a bit for me, in that I am graduating (just 3 weeks left) and about to enter the world of unemployment! This means that I'll have plenty of time to work on the B. I don't actually want to be unemployed, so if you're reading this and need a management consultant or electrical engineer (I'm two in one!) please visit my website and take a look at my resume: www.arunluykx.com.

Anyway, back to the B. Obviously, between my thesis and that blasted Jag, I haven't had any time to do anything recently. So here are some pictures of me refurbishing the radiator last summer:

Above: Sanding down the top of the radiator revealed a painted over brass top. Using brass polish I was able to really clean things up and make it shine.
I covered up the rest of the radiator with masking tape and painted the non-brass surfaces with black POR-15 paint. I should note that POR-15 is truly amazing paint. I've also used it on the front grille of the B.
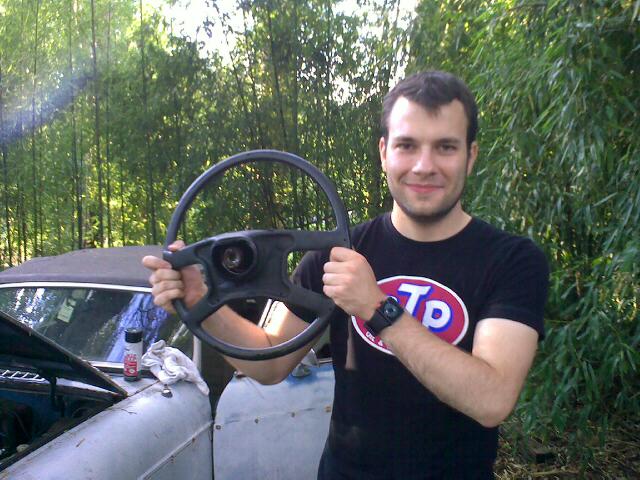
Above: The final result. Unfortunately this terrible cell-phone picture does not do the details justice, so I'll post more pictures during my unemployment. I also replaced the hoses during this, and ran a coolant flush through the radiator to remove some junk.

Tuesday, August 17, 2010

Finally got the wheel off!!!

  • Replaced steering wheel with Nardi wheel
  • Resolved another Leyland mistake: that hideous rubber covered steering wheel
  • Gained access to turn signal/ light control
  • Much easier removal of dashboard (to fix lights and such)
Finally, after MONTHS of trying, I was able to get that horrible Leyland style rubber steering wheel off! Well, it wasn't me as much as it was a colleague of mine who also happens to have an interest in classic cars.

I tried various tools: hub pullers, hammers, tons of penetrating oil, a puller I made like the one from Moss (which sells for $50), etc, but all to no avail! In fact, conventional wheel pullers will not work with this car. Rather, the remedy was simply persistent pushing and pulling the wheel from side to side. Just keep working the wheel gently. Don't use a hammer (I managed to damage the threads doing this). It took about half an hour, but in the end the damned thing came off! Despite drenching the thing in Deep Creek, hardly any of the oil had actually gone down far enough to actually loosen up the splines.

I can't take credit for the work, I'm not patient enough to do anything like that. All credit should be directed to my colleague and future car collector, Matthias (see picture).

So basically: trying to take the steering wheel off? Forget about buying anything! Nothing works. Trust me, I've tried it all. I even bent the old wheel in the process.

Sunday, March 21, 2010

And We're Back

The 100 feet of snow we had this winter wasn't enough to collapse the old bird. However, when I went to take a look at it today I realised my first task was going to be a spot of gardening. Here are the before and after photos:


There was A LOT of bamboo all over the place. Amazingly the roof was still intact, despite numerous branches having fallen on it. The roof was not intact after I accidentally poked through it while removing a branch.

Next week I hope to do some real work...

Tuesday, March 9, 2010

University Motors is Back!!!

John Twist recently posted that University Motors is back in business:

As I pondered my future, I could not escape the undeniable fact: MG is my destiny. We are now re-awakening University Motors.


Read the full post here: http://www.mgexperience.net/phorum/read.php?1,1377891

Friday, December 25, 2009

Wednesday, November 18, 2009

Fudge values and bearings

  • Correct bearing tightening instructions
  • Brakes work again, even when turning
  • No wheel wobble at high speeds
  • Greatly reduced chances of dying

I strongly believe in the value of fudging values from time to time. 5 ft/lbs? Finger tight! 0.05mm tolerance? Finger tight! 32 PSI? Yup, finger tight!! Please note that I am not an accountant, and do not work in the finance industry (where a lot of 'value fudging' goes on as well, I imagine...).

Unfortunately this does not always work. Bearings, for example, are an example of one of these situations. I learned that this week when the brakes on my XJS stopped working every time I made a hard left or right.

I recently changed the bearings on the XJS, but followed my usual method of tightening the end nut: finger tight plus a turn of the wrench. Generally that's good enough (as it seems to be for the MG). Tightening too much leads to premature wear of the bearings, and that lovely grinding noise you sometimes hear on old cars. Too loose has never been much of a problem, so I didn't think too much of it.

Well, I was wrong. Turns out the XJS needs a full 25 ft/lbs on the end nut (as pictured above, on the MGB, before pin removal), backed off one flat (and more if necessary to fit the pin back in). After adjusting this the brakes returned to normal, and high-speed driving stabilised a bit. Turns out the nut was loose enough to let the rotors move around enough to push back the brake pads, but only when the wheels were turning. So really the brakes were working fine, it's just that they had to be reset each time I made a turn.

So:
Here are my general bearings instructions (for the MGB and most cars that aren't Jaguars):
  • Tighten the end nut to 5 ft/lbs while turning the wheel. If you hear grinding or anything like that your bearings may be bad, or some dirt may have entered the hub. Clean the hub and make sure you pack it with (clean) grease.
  • Loosen if necessary to enter holding pin
  • Reassemble the wheel (keep it jacked up).
  • Check for wobble by holding the wheel on the top and bottom and try to make it wobble. Then hold the wheel on the left and right, and do the same. If you feel any wobble or anything that seems too loose, tighten the end nut a bit, and recheck.
  • If everything seems right, take your MG out for a ride. If you do not notice the same or better performance, something is wrong (duh, this counts for anything I guess...). The best speed, in my opinion, to find problems is around 70 mph. Good luck.

Mind you, despite the bad braking and wheel wobble I still did a 400 mile road trip at 80+ mph speeds....

Wednesday, October 28, 2009

My new toy

Regular readers will have noticed that I haven't been posting much lately. I can now reveal why, which I will do with the following video:


Initially I tried to make something that looked as exciting as a Top Gear segment, unfortunately it turned out as drab and dreary as a MotorWeek episode. Probably mostly due to my anything but engaging tone of voice, and due to my budget for this being on par with a typical MotorWeek episode. I hope you did notice that, unlike Motorweek, I actually had cool cars, and dared to make negative comments (that didn't refer to daily driving issues).

So that's what's been keeping me busy for the past month.